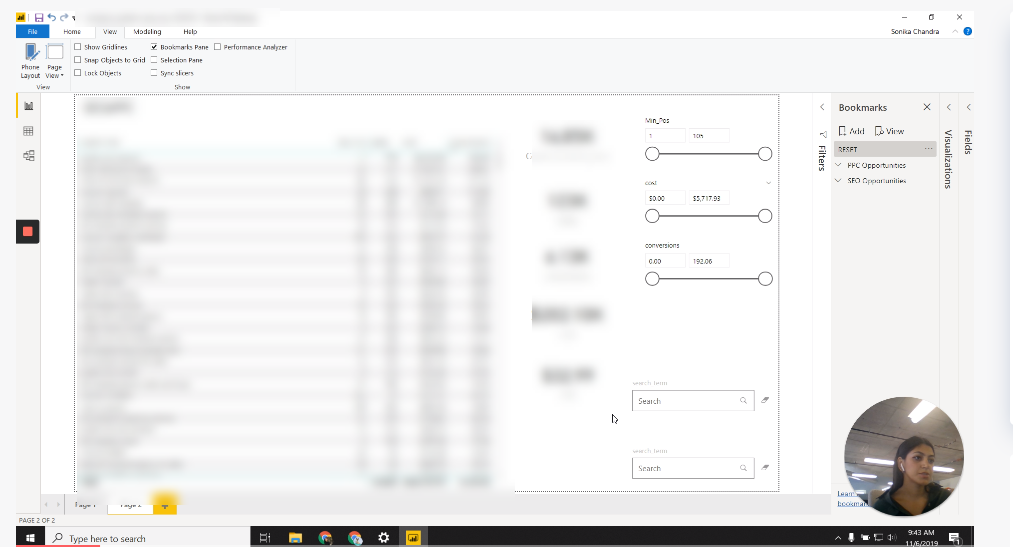
Have you ever wished an email was shorter, easier to read, or maybe replaced by something more visual and easier to digest? Whether internal or client-facing — short videos can be incredibly impactful, hold your viewers’ attention and allow you to explain your work with more clarity. They’re not always the answer, but here are some examples for when a video makes sense:
- Internal Trainings: can be viewed multiple times if needed and saves time!
- Complex analysis walk-throughs: This can be a good way to prep the recipient.
- Seer team members use videos to walk through Search Discovery Analyses, SEO x PPC combined analyses, and much more.
Now that you’ve done the analysis and pulled out valuable insights, it’s time to record the video.
- What steps should you take to prepare before recording?
- What tools can you use?
- What should you definitely include vs leave out?
- What should you do post-recording?
We’ve got the answers.
What steps should you take to prepare before recording?
- Clean up your dashboard! If you’re presenting in a BI Platform, take a look at the titles of your graphs and charts. Update any small details in your chart names to be client-facing. If you’re walking through a deliverable in Slides or another program, double-check any small details like dates or names.
- Organize all of your bookmarks in PowerBI, or your tool of choice, in order of importance/priority to ensure seamless transitions in your recording. If you’re not using a program that includes bookmarks, write a brief script to help yourself feel prepared.
- Any instance where you navigate out of your original deliverable and show a Google SERP or a client’s webpage, make sure all of these instances are pulled up as their own tabs in a separate Chrome window prior to starting (saves time!). To be safe, close any other tabs you may have up and don’t forget to close your chat programs!
What tool should I use?
This is really going to depend on what you are looking for in a recording program, but there are some standout options that we use frequently at Seer.
- Zoom
- Free
- Easy to use
- Unlimited video downloads
- Snagit
- Free trial
- Allows editing and screenshots
- Loom
- Free
- Front-facing camera option
My personal favorite to use is Loom, because you can show your front-facing camera in a small bubble at the bottom and interact with your viewer on a more personal level than your typical screen share.

What should I show?
When deciding what to showcase in your video, keep your viewer’s goals in mind. Those may be your client’s business goals or whatever your recipient is going to care most about. Drive your video’s strategy with those guidelines and you’ll be set up for success.
Here are some tips and tricks to get you started when reviewing an analysis on a video:
- Start the video with a brief overview of what you will be reviewing, what data sets are included, what programs you used, and any other background information that could be valuable.
- Review what the end goal is for the video. “By the end of this video, you will know…”
- Tie all recommendations from your analysis back to the client’s goals as a reminder of the value that it provides. For other more informational videos, tie everything back to the end goal.
- This is where having clear bookmarks comes in handy. You can easily navigate from most important to least without getting lost on your screen.
- Stick to 2-3 of your most impactful points or findings. This one’s important! If you want to keep your viewer’s attention, highlight the most important parts of your larger project and save the rest for a follow-up call, meeting or, *gasp* email. We recommend keeping your video between 4-5 minutes.
- Close your video out with a quick summary and remind the viewer that this is just a preview of your work and that you are available for any questions or comments.
Other helpful tips:
- Start the video on the front-facing camera and intro yourself and what you’re about to say before you start sharing your screen to make it a bit more personal.
- Avoid typing as much as possible! It’s annoying to hear loud typing when you’ve got a video’s volume up.
- If you’re feeling like you lost your train of thought or don’t have everything that you need up on your screen, pause the video, gather yourself and resume when you’re ready.
So I finished the video, now what?
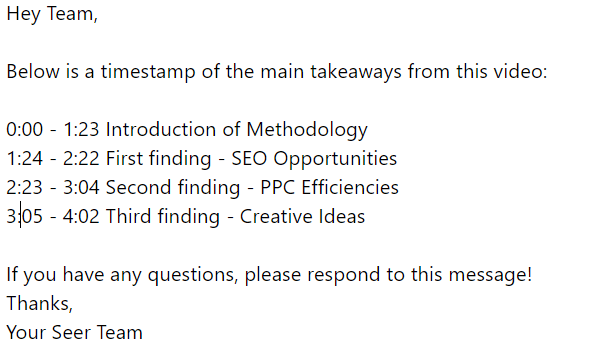
A super helpful tip from our very own Data Strategy team -- include a general timestamp of your video so account teams can see where each opportunity starts within the video. Example below:

- Send a quick note to your viewer explaining the point of the video, any big standout findings (in case they don’t have time to watch at that moment) and a general timeline of when you would expect feedback.
In case you’re not quite convinced, here’s a little proof from our clients that short videos are the way to go:
“The video made the analysis multi-dimensional. Instead of us examining the report ourselves and drawing our own conclusions, the video asset helped provide additional context and details behind the analysis. It also gave us a better understanding of why certain recommendations were being made by the Seer team. When it was time to discuss the report over the phone I had a better overall understanding of the analysis, and was able to provide the team definitive answers regarding their recommendations and how we wanted to proceed.”
“The video walk-through was extremely beneficial mainly because I was able to go through the video at my own pace. I was able to re-watch certain points to ensure I completely understood the team’s recommendations. It also helped me to understand the team’s expectations of us and to ensure we were all on the same page.”
For more helpful tips and tricks on all things Digital Marketing, sign up for our newsletter below. Happy recording!


